Work on Alexandra
Fall 2006: Jennings Boatyard -
Fairport, Va
October 6, Friday
Well, we finally have a rainy day here - and that's a serious UNDERstatment! It started last night and has been pouring non-stop since, with 30-40 kt northeast winds whipping the rain horizontally. I guess this is the first nor'easter of the season. We have been here about a month, and it hasn't rained once during the daytime until today. The rain is supposed to continue thru the weekend, so this is a great time for us to update this website.
Click on a picture below if you want a
larger view.
Pictured below are just a few of the projects we have been working away at to get Alexandra ready to go back in the water.
|
|
|
|
|
|
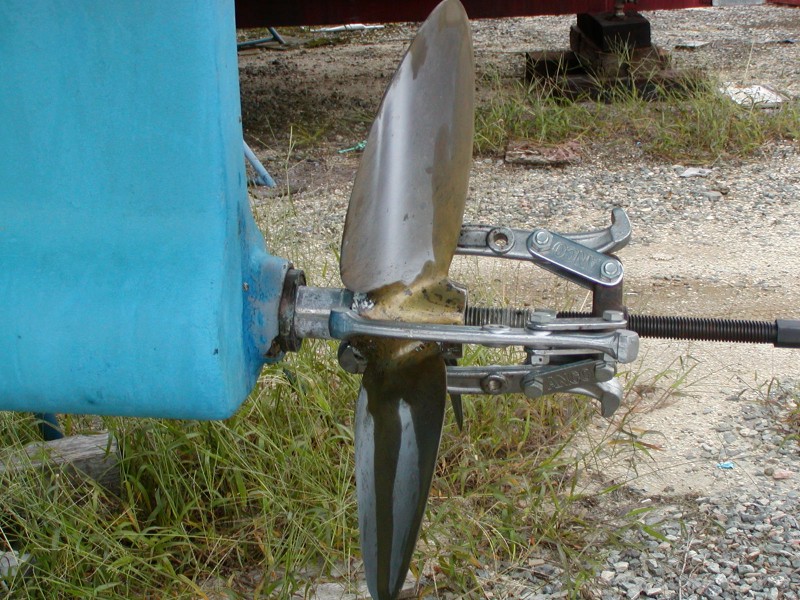
Pulling the Prop In this pic you can see a couple of things: 1) that the cutlass bearing has backed out about 1/2 inch (would have gone further, but the shaft zinc stopped it). 2) That the outer portion of the bearing tube is very 'eaten up' where the set screws have ripped out. |
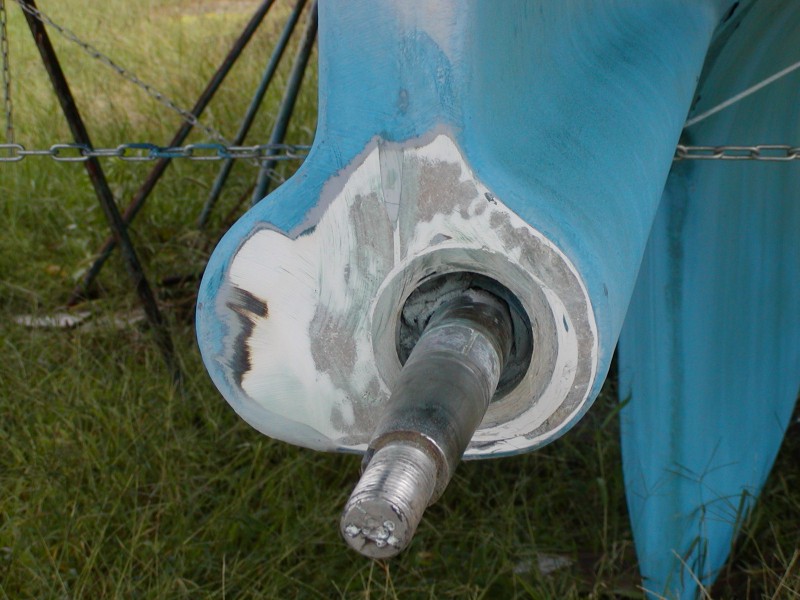
Removing the bearing and the bad glass section Here you can see that the cutlass bearing has been pulled out (I stuffed a rag in the tube to keep dust out). Also, I have cut off the bad section of the bearing tube and ground down the surrounding areas in preparation for glassing. |
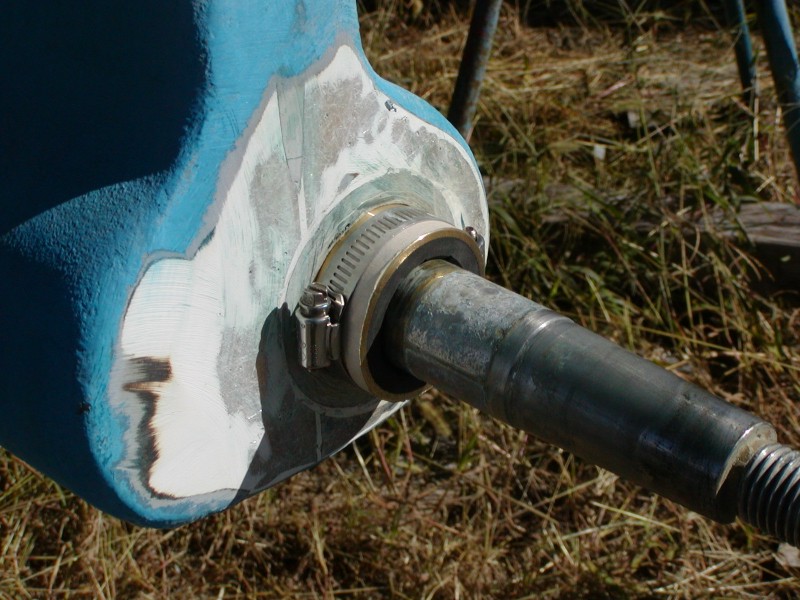
Installing the new bearing Here you can see the new cutlass bearing installed with my plan for retention. As you can see I have put two hose clamps end-to-end around the bearing. This will prevent the bearing from creeping into the shaft. Then I glass and epoxy over the hose clamp to prevent it from creeping out. |
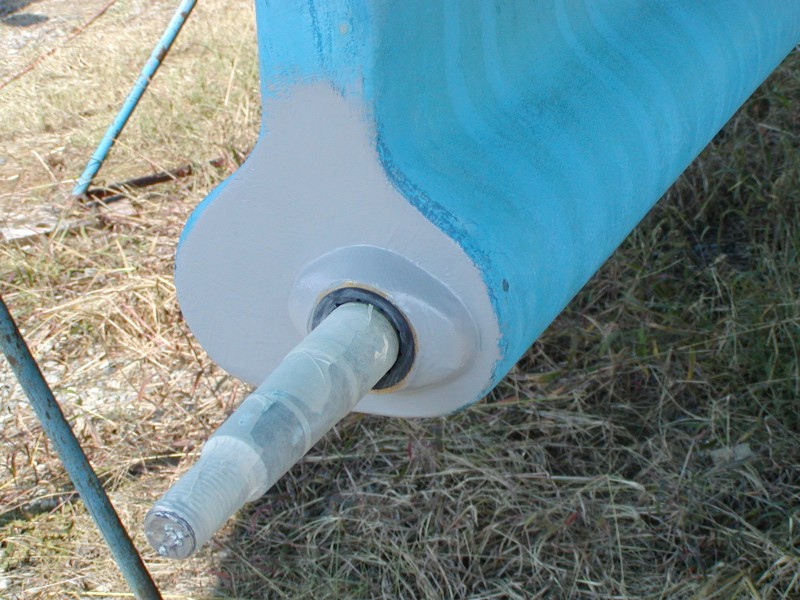
Finished Installation At this point, the clamps have been glassed in, and the area faired out with vinyl ester, then coated with Interlux 2000. All ready for bottom paint! I will let you know how my plan works. I have talked to a lot of boat owners, and most have a problem with cutlass bearing set screws not holding. |
|
|
|
|
|
|
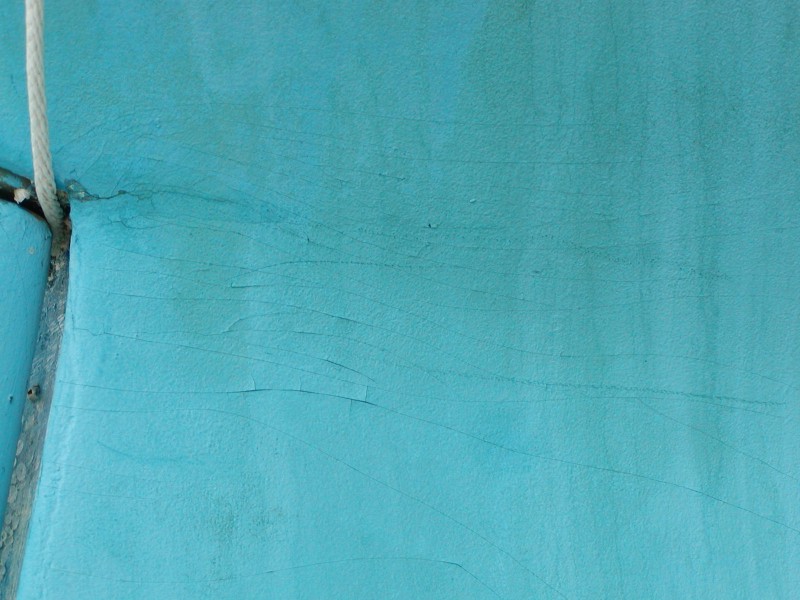
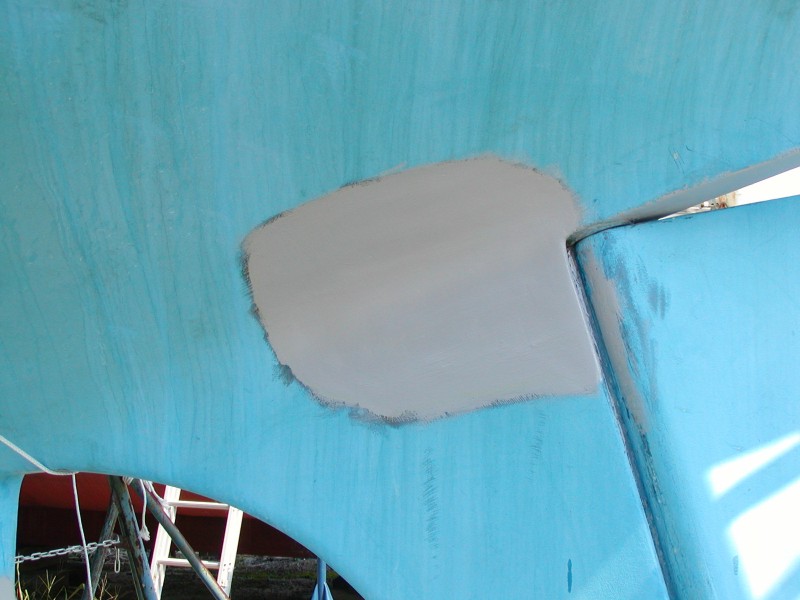
Skeg Stress Cracks Another issue I wanted to deal with while the boat was out were these stress cracks at the top of the skeg, where it meets the hull. I have a suspicion that the boat may have been grounded on the skeg at sometime in its past. |
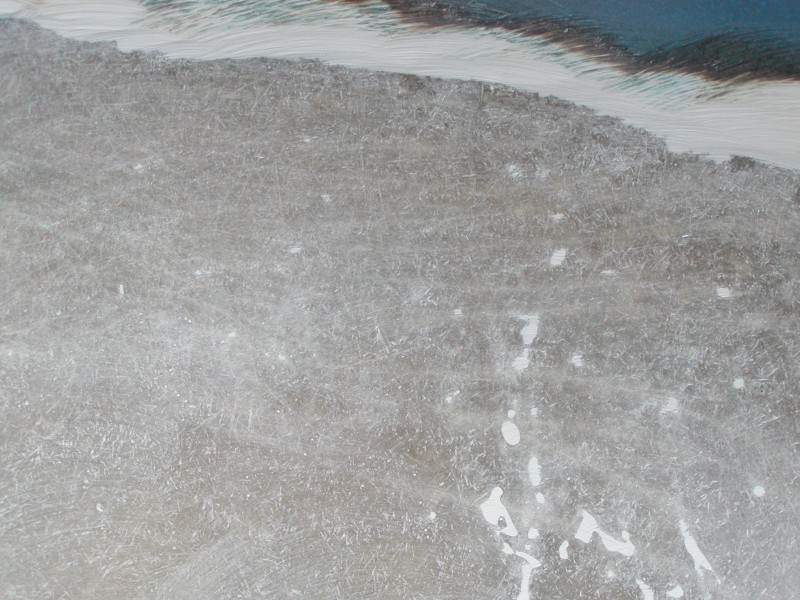
Inspecting the damage At this point I have removed the bottom paint, VCTar and the gelcoat, but none of the glass. As you can see the stress cracks go slightly into the glass... so more grinding is necessary. |
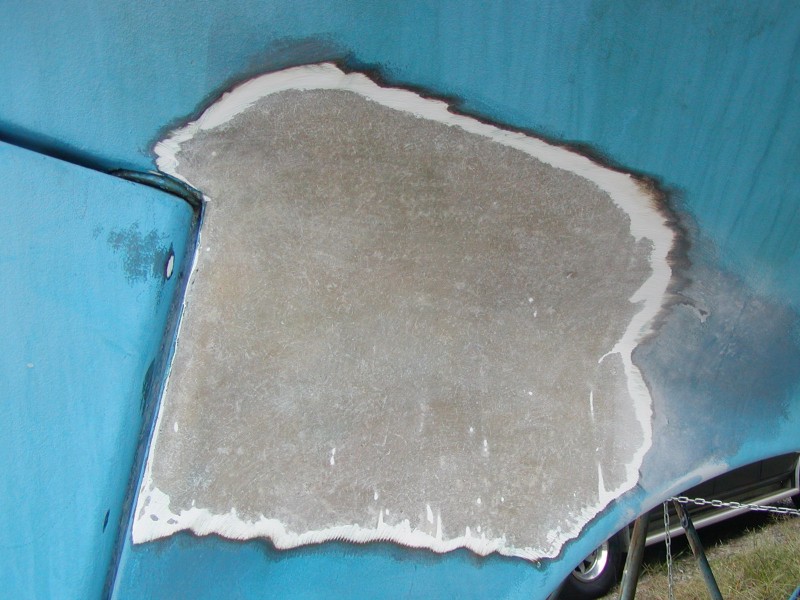
Digging Deeper At this point all evidence of cracks have been eliminated. I have only cut into some of the stranded glass, still haven't reached the structural glass, so the strength is still there.
|
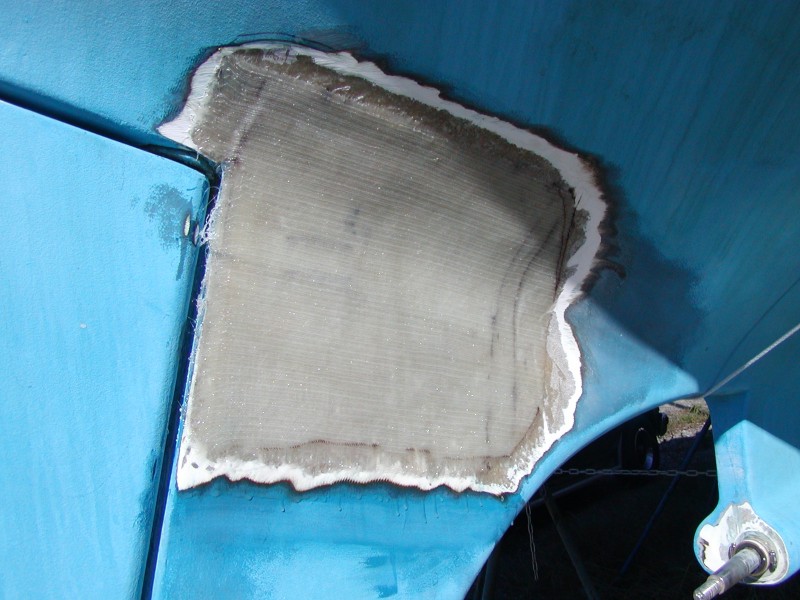
New Glass Applied Three layers of 18.7oz biaxial glass as been applied at this point. |
|
|
|
|
|
|
Ready for Bottom Paint I have faired out the patch with vinyl ester putty, and then applied 3 coats of Interlux 2000. |
Both sides were damaged The port side of the skeg was cracked in the same way, but slightly less spreading. This is a photo of the finished port side. |
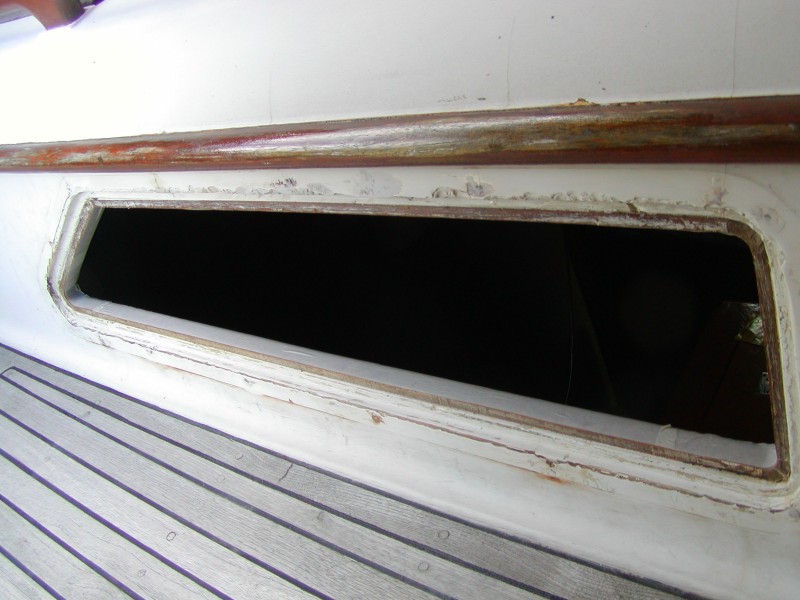
Window Re-Bedding There are four large windows on Alexandra in the main cabin. As time presents itself, I am replacing/rebedding each of them. This is the port-side forward window. You can see that there is a lot of small chips and screw holes that need patching. |
Finished Window I forgot to take a picture of the finished product, but I will once the weather clears up. For now, believe me when I say it looks a LOT better. |
|
|
|
|
|
|
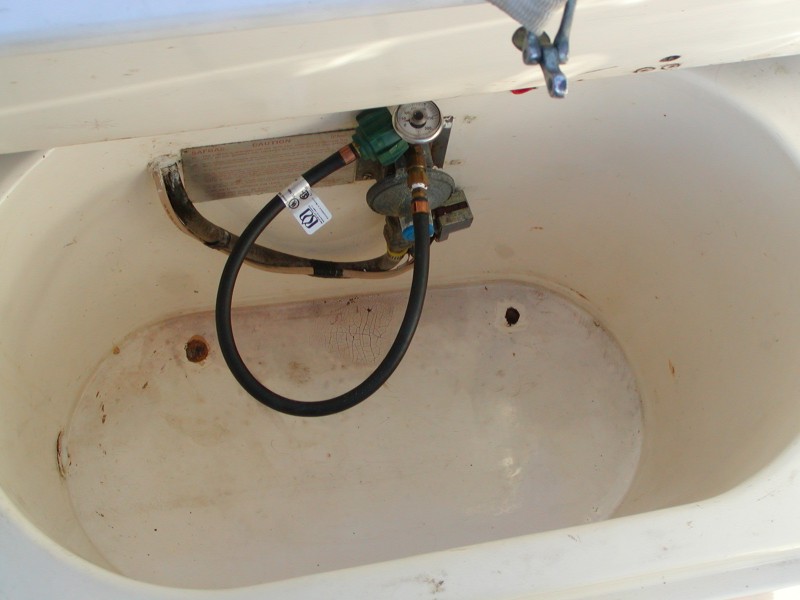
Propane Locker Leak This is just the latest chapter in a long-going story about the PO and this locker. If you look close you can see that there have been two holes drilled in the bottom of the locker (probably to make a vent or drain).... |
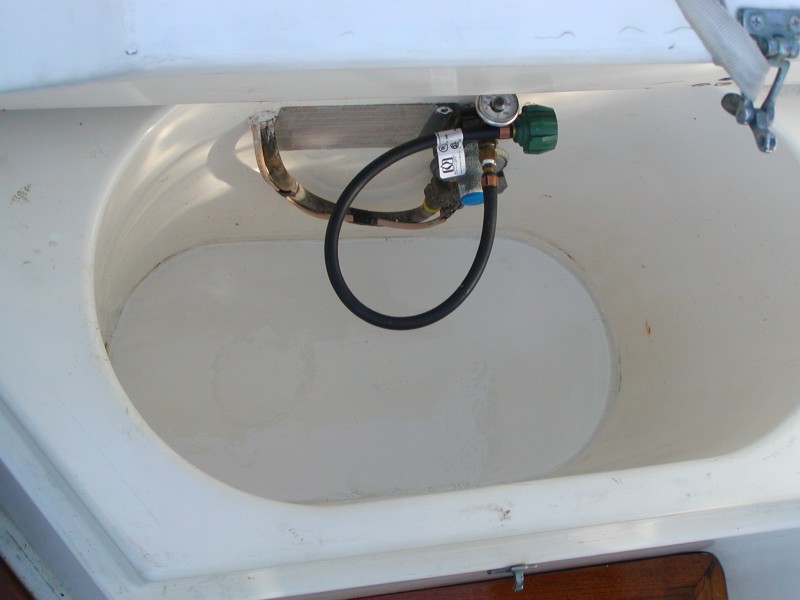
Locker Leak Sealed The "plugged" hole on the right side leads right into the aft cabin over the berth, and recently started leaking. Good planning, eh? Anyway, I stripped the bottom, put in a layer of epoxy/glass, then faired, then painted with epoxy paint. |
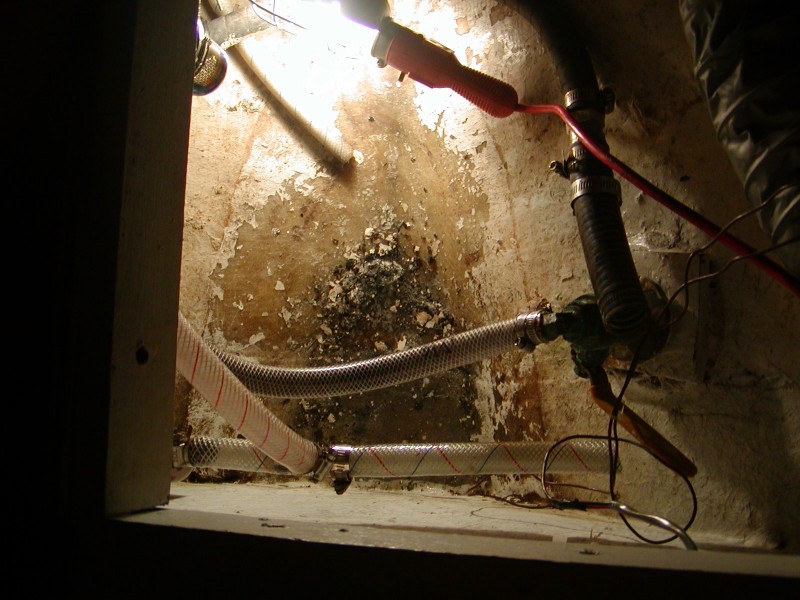
Shower Sump It's not as bad as it looks. Not sure what was poured into this area, but it didn't last too well. In this picture the old pump has been removed. |
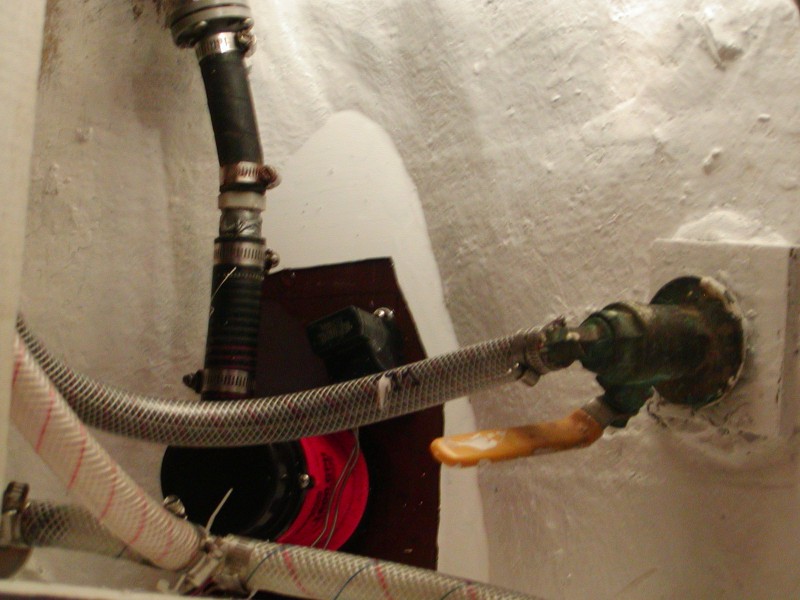
New Shower Sump Glassed in a wooden base to mount the sump pump on, then faired out and painted with epoxy paint. New, more powerful sump pump and automatic water level switch. |
|
|
|
|
|
|
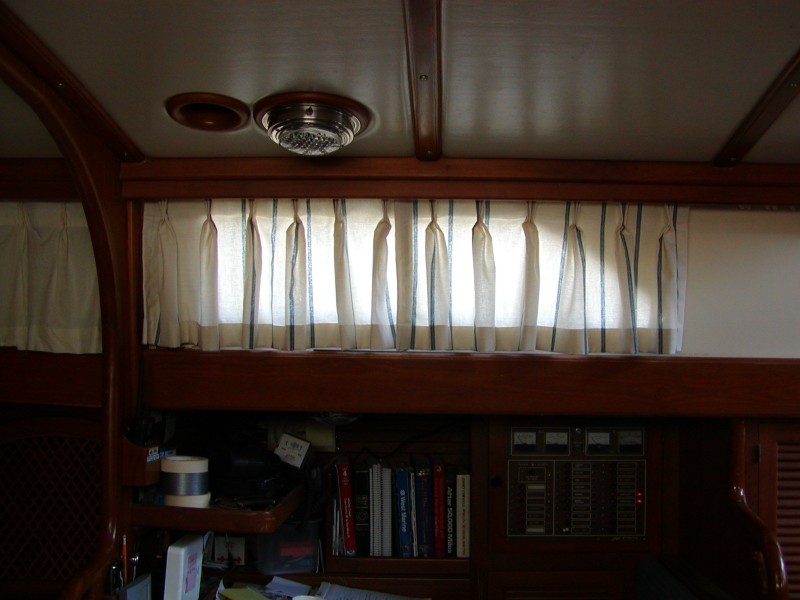
New Curtains Cindy has been making new curtains for the boat. This is one set of the new ones over the nav station. |
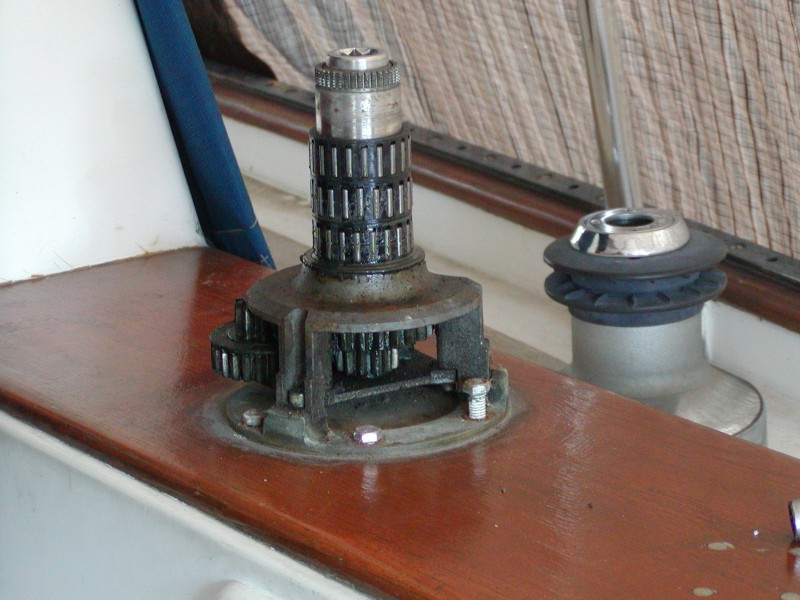
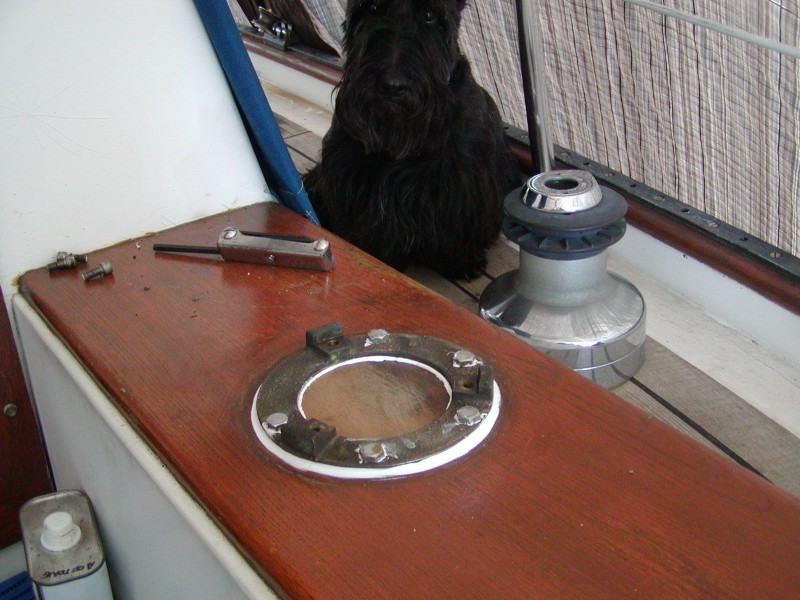
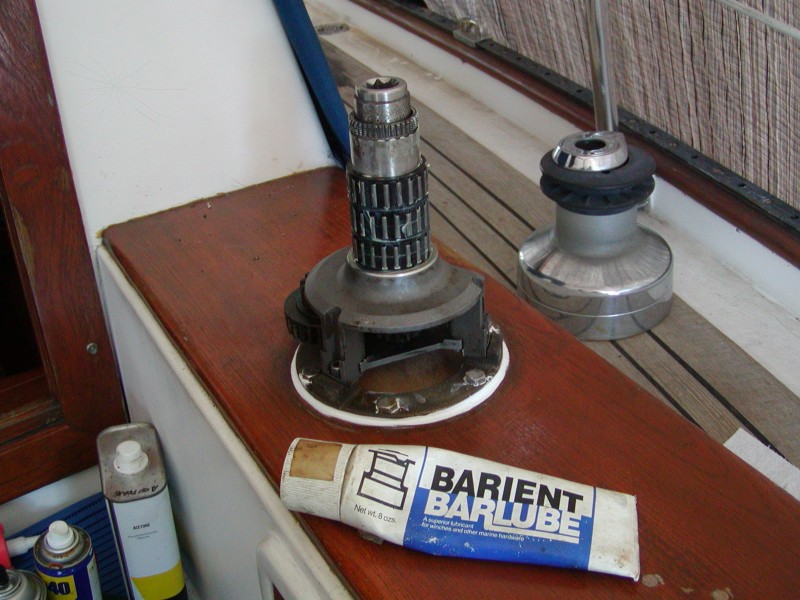
Rebedding the Cockpit Winches All 4 of the cockpit winches were due to be rebedded, cleaned and greased. This series of photos just shows the starboard forward one - but we did all 4. |
Disassembly and rebedding the base. Molly was part of 'quality control' inspection
|
All back together and ready to go.
|